We designed this workshop for the Shanghai Museum of Glass. A workshop for kids, so we tried to do something more simple than the coin purse. Also considering that people are not using coins anymore in China, we tried to find some other useful things people can make easily at home. The irony of making […]
We designed this workshop for the Precious Plastic WANA Conference 2018 organized by NYU Abu Dhabi, NTSI-Lab. The tutorial can be found here:https://godoymarcela.com/PPNYUSH-coin-purse-template-tutorial.pdf Here is the version 2 of the tutorial:https://www.remaker.space/wp-content/uploads/2022/08/PPNYUSH-coin-purse-template-tutorial.pdf We changed the metal buttons for plastic buttons that are easier to install and don’t need a hammer. Here you can see a kit […]
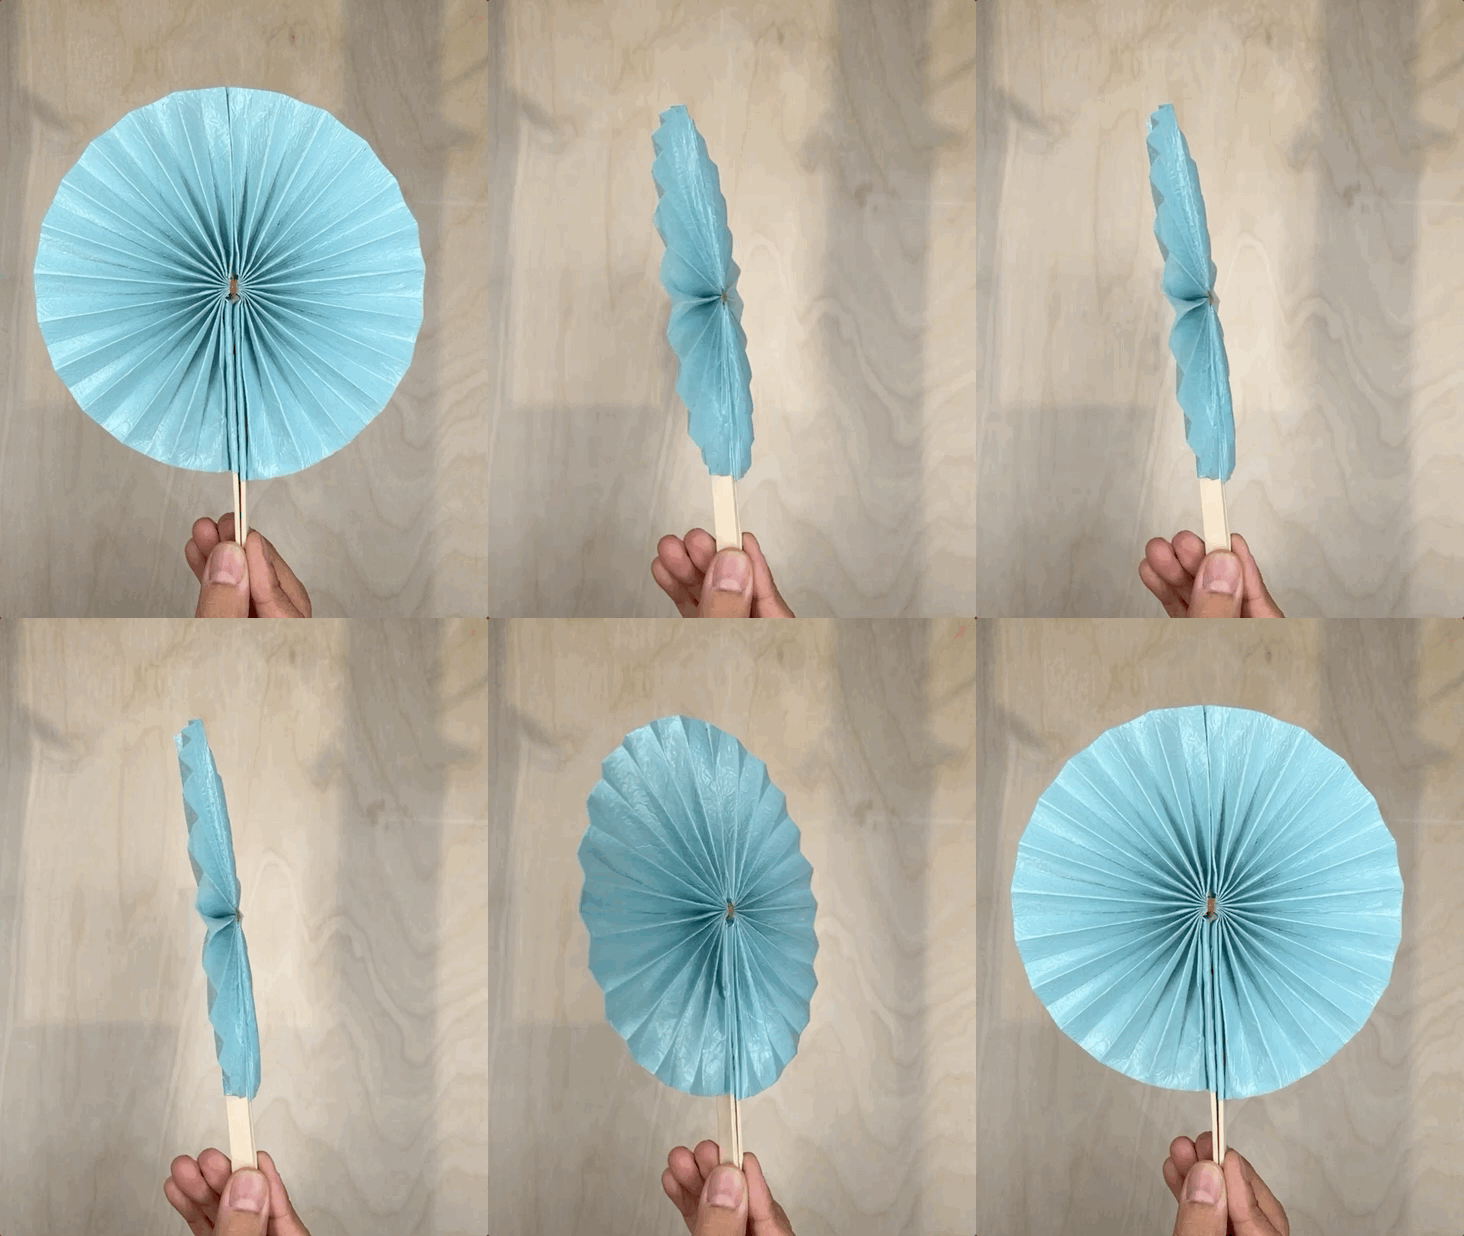
We designed this workshop for the Shanghai Museum of Glass. A workshop for kids, so we tried to do something more simple than the coin purse. Also considering that people are not using coins anymore in China, we tried to find some other useful things people can make easily at home. The irony of making a fan with plastic and global warming, though!

How to make it?
The tools:
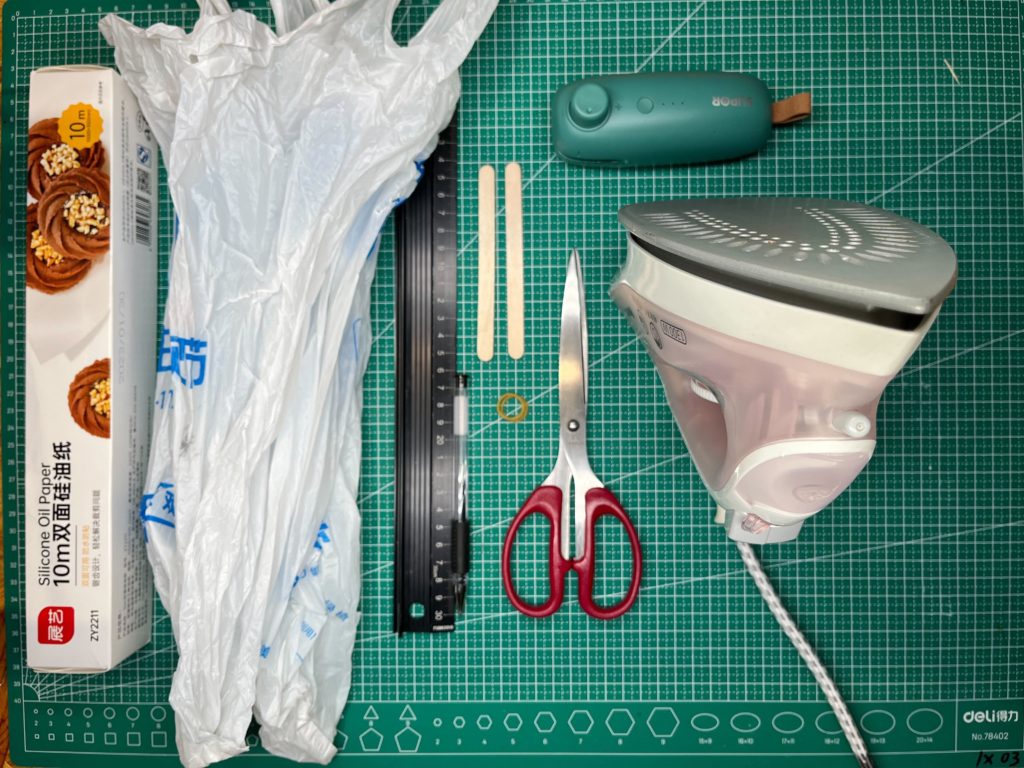
Iron, scissors, pens, rulers, and a plastic sealer.
The materials:
Plastic bags, rubber bands (small), baking paper, and popsicle sticks.

First we start by making the materials. We used 2 laters of plastic bags, since this seems to be working better. We tested using 4 and 3 layers of plastic bags. When making the material with 4 layers it was impossible to fold it, and with 3 layers worked, but it was still too rigid to fold and collapse.
We will make a rectangle of 28cm by 15cm, so the layers of plastic bags to fuse should be at least 33cm by 20cm, this is because the plastic shrinks when we apply heat.
Before ironing the plastic, we sandwich it between the baking paper, so we don’t damage the iron or the surface we are using. The temperature for the iron needs to be between the SILK and WOOL setting.
We iron the plastic until the two laters are completely fused. If you see bubbles of air between them, you should continue. Try to iron the plastic on both sides for a better and more uniform result. When your material is ready, cut a rectangle of 28cm by 15cm. Save the left overs of plastic since we will use them later. Place your rectangle horizontally (hight is 15cm) and mark lines every cm. This marks are the lines we will fold later. Finally also mark the middle of the shorter side, this should divide the 15cm into 2 parts of 7.5cm. After marking them start folding them back and forth in a zigzag pattern.
Now use the mark dividing the 15cm side to place a rubber band that will hold the hold piece folded. After this step you can open the folds to form a circular shape. Next use the plastic sealer to seal one of the sides. If you don’t have a plastic sealer you can use staples, but it’s not ideal since staples will be harder to remove if we want to recycle the fan later.
Finally, place one of the popsicle sticks inside the first fold of the side that is still open. Use the left over material to cut two rectangles of about 2cm by 7cm. We will use one of them to enclose the popsicle stick and we will seal them together with the edge of the fan. We will repeat the same for the other open side and that’s it!
You can use another rubber band to keep the fan collapsed or keep it open 🙂
A video showing every step of the process is below: